How to turn handwritten family recipes into a keepsake cookbook
· Editorial team newswithannaphoenix.com
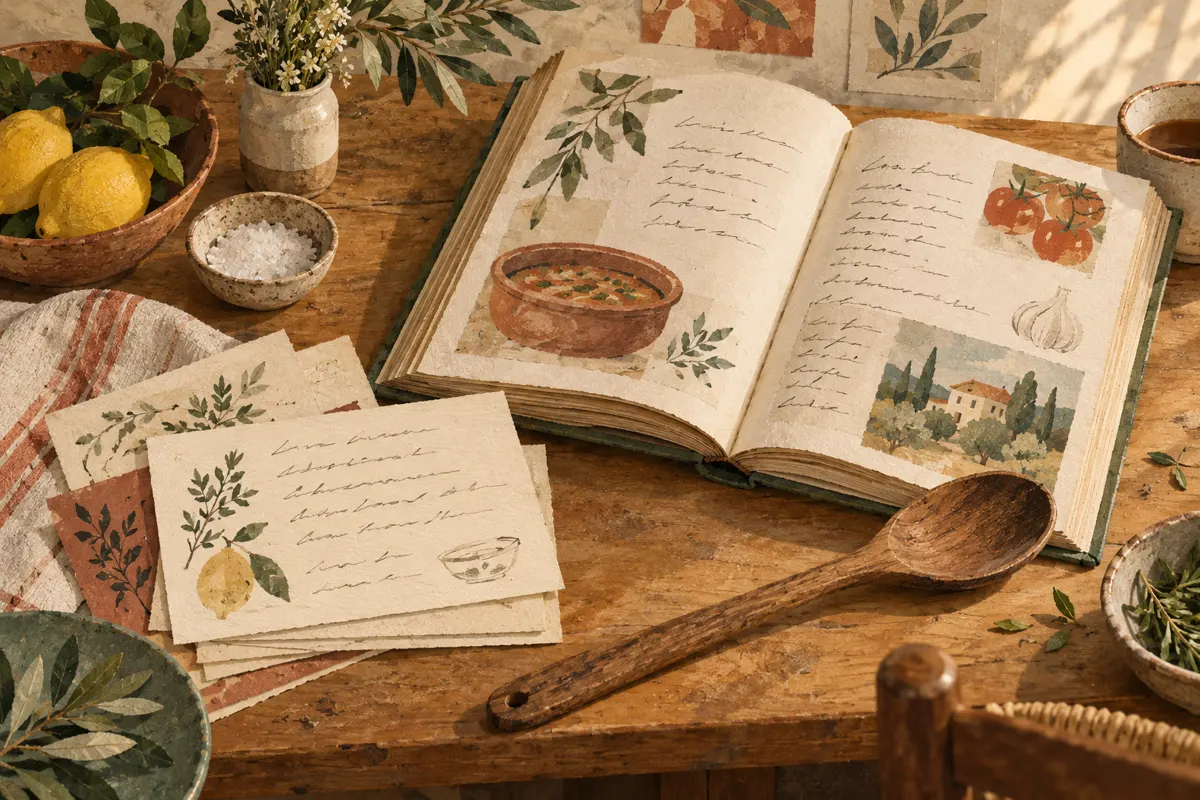
To make a keepsake family cookbook, copy your handwritten recipes, clarify missing details with relatives, and pair readable transcriptions with images of the original cards and short family stories. Then organize the recipes, check the instructions, and prepare a printed or digital edition. The following proposed workflow keeps the project manageable while preserving what makes the recipes personal.
Gather the cards and choose a manageable collection
Start with the recipes people actually remember cooking or eating. A first collection might focus on holiday dishes, one relative’s recipe box, or meals shared across several households. Choose a clear scope so the book can reach a finished edition; additional recipes can follow later.
- Ask relatives for recipe cards, notebook pages, loose sheets, and recipes they know by memory. Record who supplied each one.
- Photograph or scan both sides of every card, including handwritten additions. Check that the edges and faint pencil marks are visible.
- Give each image a descriptive filename, such as a dish name followed by the contributor’s name.
- Keep a tracking list with the recipe title, contributor, image location, and any questions still to resolve.
Keep original cards together and work from copies. Save the images and typed files in a second location as well. If two relatives contribute different versions of the same dish, retain both until you understand the differences.
Turn shorthand into instructions someone else can follow
Transcribe each recipe before polishing it. Preserve the original wording in your working file, then create a readable version with ingredients and numbered instructions. Keep distinctive dish names, but expand abbreviations where their meaning is confirmed.
Ask specific questions about gaps. “Bake until done” needs more clarification than a general request to explain the recipe. If possible, talk through the method with someone who has made the dish, or cook alongside them and record the details they confirm.
- What quantity does “one package” or “one can” mean?
- Which pan size, oven temperature, and cooking time were used?
- Are ingredients measured before or after chopping, melting, or draining?
- What does the mixture look or feel like when it is ready for the next step?
- How much does the recipe make, and which variations did the family use?
Leave unresolved details visibly marked in the draft. If you develop a replacement instruction, label it as a proposed adaptation until someone tries it. Do not silently present a guess as the original cook’s method.
Preserve the handwriting and the story
Use a clear transcription for cooking and an image of the handwritten card for the keepsake element. The image can sit beside the recipe or on a nearby page. This lets readers appreciate the handwriting without relying on a small or faded photograph for every instruction.
Invite each contributor to share a short memory: when the dish appeared, who usually made it, or what happened around the table. A concrete detail, such as someone always requesting the corner piece, gives the recipe context without requiring a long family history.
Attribute memories to the person telling them. When recollections differ, use wording such as “Maria remembers…” rather than settling the question without evidence. Ask contributors to approve personal stories and family photographs before including them in copies shared beyond the household.
Build pages that are comfortable to cook from
A proposed page template is: recipe title, contributor, short memory, yield if known, ingredients, numbered method, and any confirmed variations. Repeat the same arrangement throughout. Keep the main text comfortably readable and avoid placing instructions over photographs or decorative backgrounds.
Choose one organizing system, such as course, occasion, or family branch. Add a contents page and page numbers so readers can find dishes quickly. For long recipes, make the continuation obvious and keep the ingredient list together where practical.
You can assemble the book in a document editor or use a dedicated cookbook service. The supplied CreateMyCookbook and Heritage Cookbook materials describe options for adding recipes and photos and customizing pages; Heritage also describes including stories. Before choosing a service, check its export options, page limits, and available bindings against your plans.
Check a complete draft before making copies
Read the finished draft as someone encountering each recipe for the first time. Compare transcriptions against the card images, then check the practical sequence separately. Trying unclear recipes before printing gives contributors an opportunity to confirm or revise the instructions.
- Check quantities, units, names, and fractions against the originals.
- Confirm that every listed ingredient appears in the method.
- Resolve draft notes or clearly identify remaining uncertainties.
- Review a printed sample for readable text, image clarity, and margins.
- Save the editable files, original images, and final book file together.
Add an edition date and a brief acknowledgment of contributors. Keep a corrections list after sharing the book, so the next edition can include newly remembered details and recipes.